
Showing posts with label handmade soap. Show all posts
Showing posts with label handmade soap. Show all posts
Tuesday, May 14, 2013
The winner of my soap giveaway.
The winner of my soap giveaway is Anisa Redmond. Thanks for playing :)


Tuesday, March 12, 2013
Pick My New Spring Soap Scents and Get a Bar of Soap for Free
It is that time of year. My favorite pthalate free fragrance supplier,Candlescience, is having its spring scent sale. I have to place the order for my spring scents today. I have some shows to do and would like your input on what scents should be added to my line this spring. Here are the choices. I will take all the people who comment and randomly draw a name from a hat. That person will get a free bar of soap. They get to pick the scent :)
1)Basil and Herb
2)Beach Linen
3)Black Raspberry Vanilla
4)Coconut
5)Coconut Lime
6)Coconut Lime Verbena
7)Citrus Basil
8)Cucumber Melon
9)Day at the Spa
10)Dreamsicle
11)English Garden
12)Fruit Slices
13)Gardenia
14)Golden Rose
15)Green Tea and Lemongrass
16)Bamboo
17)Jamaica Me Crazy
18)Lavender Cucumber Sage
19)Lavender Vanilla
20)Mango Tangerine
21)Love Spell
22)Peach
23)Peppermint Eucalyptus
24)Pineapple Coconut
25)Pineapple Sage
26)Pink Sugar
27)Plumberry
28)Plumeria
29)Sweet Pea and vanilla
30)Tuscan Melon and Vanilla
31)White Tea and Berries
32)Strawberry
Let me know what sounds good to you. I need at least 5 new scents:) If something sounds like it would be awesome in a candle, but maybe not in soap, I would like to know that too. Thanks.
1)Basil and Herb
2)Beach Linen
3)Black Raspberry Vanilla
4)Coconut
5)Coconut Lime
6)Coconut Lime Verbena
7)Citrus Basil
8)Cucumber Melon
9)Day at the Spa
10)Dreamsicle
11)English Garden
12)Fruit Slices
13)Gardenia
14)Golden Rose
15)Green Tea and Lemongrass
16)Bamboo
17)Jamaica Me Crazy
18)Lavender Cucumber Sage
19)Lavender Vanilla
20)Mango Tangerine
21)Love Spell
22)Peach
23)Peppermint Eucalyptus
24)Pineapple Coconut
25)Pineapple Sage
26)Pink Sugar
27)Plumberry
28)Plumeria
29)Sweet Pea and vanilla
30)Tuscan Melon and Vanilla
31)White Tea and Berries
32)Strawberry
Let me know what sounds good to you. I need at least 5 new scents:) If something sounds like it would be awesome in a candle, but maybe not in soap, I would like to know that too. Thanks.
Sunday, February 12, 2012
5 Basic Soap Making Tools
One of the questions that people ask me about soap making the most often is, "What do I need to get started?". So I though I would put together a list of items that are both easily found and affordable.
I have read many articles and books on soap making in the many years I have been making soap. Most of the time there is a exhaustive list of hard to find, not to mention expensive equipment to purchase. This list is not meant to provide all the equipment you would need to start a soap making business. It is just a very basic list for those of you who would like to try soap making without a big initial investment.
1)A Stick Blender: Also called an immersion blender, this tool is absolutely necessary for soap making. When I started out in the soap making business I didn't know about stick blenders, as a result I spent many hours stirring a pot of soap waiting for the elusive "trace" I had read so much about. What all those articles and books never told me about "trace" was that it would happen 2 hours faster if I used a stick blender. Seriously, you can reach "trace" (the point when the soap looks similar to pudding and is ready for the mold) in a mere 5 minutes, as opposed to the 2 hours it might take with a spoon or wisk. Getting a good stick blender is important. I had a Braun stick blender that I used for many many years, until one day it up and died on me. I went and bought a new one, it wasn't a really expensive one, and it didn't work at all. I could have stirred faster. I then I broke down and bought a much more expensive one that is similar to my Braun the KitchenAid KHB100WH Immersion Hand Blender, White . It is a bit pricey but it works great. The other great option for finding a decent stick blender is to check out thrift stores. Stick blenders are one of those items that are really valuable to soap makers, but not so valuable to everyone else.
2) An Instant Read Thermometer: A good waterproof instant read thermometer is essential. You need to be able to make sure your lye solution and your oil is at the same temperature. The ideal thermometer should be able to read up to at least 250 degrees, be easily cleaned, and easy to read. I started out with the dial kind instead of the digital, but I am too old now to see those small numbers. I recommend that you have two of these instant read digital thermometers. It is possible to make soap with one thermometer, but it sure is easier with two. The one I use is the Taylor 9842 Commercial Waterproof Digital Thermometer . It is easy to use, waterproof, and inexpensive.
3)A Good Digital Scale: The most important thing in soap making is measuring accurately. Get a good scale you will not regret it. Once again digital is way easier to read for these old eyes, but if you can read those little lines then the other kind of scale is fine. I think the best digital scale for the money is Digiweigh 600 x 0.1 Gram/g Digital Pocket Scale for home Candle/Soap Making Lab Set . Once again, you might find a great deal at a garage sale or a thrift store.
4)A Stainless Steel Stock Pot It is really important that this pot is staineless steal, aluminum will not workout. The pot also needs to be large enough to hold your water and oils combined. I have used many different pots for making soap. Most of the time I use my big stock pot from my kitchen, it works, and yes you can still use it for food. Just wash your pot really well before using it for food again. You can look for old pots at garage sales, just make sure they are not aluminum.
5)A Mold: When you are done making your soap you will need a mold to put it in. I have used everything from Pringles cans and pvc, to shoeboxes. I have also used candy molds, individual soap molds made out of plastic, and wooden loaf soap molds. I use a large wooden soap mold now, but to start out you might want something less expensive. I have found that the new silicon bakeware works pretty well. This one Smartware Silicone Loaf Pan Includes Storage Lid, Terracotta is pretty good, and even comes with a cover.
Except for a few items that you should already have around your kitchen, and of course the lye and oils, these five items are all you need to start you soap making adventure. I hope you enjoy it s much as I do. Happy Soaping.
I have read many articles and books on soap making in the many years I have been making soap. Most of the time there is a exhaustive list of hard to find, not to mention expensive equipment to purchase. This list is not meant to provide all the equipment you would need to start a soap making business. It is just a very basic list for those of you who would like to try soap making without a big initial investment.
1)A Stick Blender: Also called an immersion blender, this tool is absolutely necessary for soap making. When I started out in the soap making business I didn't know about stick blenders, as a result I spent many hours stirring a pot of soap waiting for the elusive "trace" I had read so much about. What all those articles and books never told me about "trace" was that it would happen 2 hours faster if I used a stick blender. Seriously, you can reach "trace" (the point when the soap looks similar to pudding and is ready for the mold) in a mere 5 minutes, as opposed to the 2 hours it might take with a spoon or wisk. Getting a good stick blender is important. I had a Braun stick blender that I used for many many years, until one day it up and died on me. I went and bought a new one, it wasn't a really expensive one, and it didn't work at all. I could have stirred faster. I then I broke down and bought a much more expensive one that is similar to my Braun the KitchenAid KHB100WH Immersion Hand Blender, White
. It is a bit pricey but it works great. The other great option for finding a decent stick blender is to check out thrift stores. Stick blenders are one of those items that are really valuable to soap makers, but not so valuable to everyone else.2) An Instant Read Thermometer: A good waterproof instant read thermometer is essential. You need to be able to make sure your lye solution and your oil is at the same temperature. The ideal thermometer should be able to read up to at least 250 degrees, be easily cleaned, and easy to read. I started out with the dial kind instead of the digital, but I am too old now to see those small numbers. I recommend that you have two of these instant read digital thermometers. It is possible to make soap with one thermometer, but it sure is easier with two. The one I use is the Taylor 9842 Commercial Waterproof Digital Thermometer
. It is easy to use, waterproof, and inexpensive.3)A Good Digital Scale: The most important thing in soap making is measuring accurately. Get a good scale you will not regret it. Once again digital is way easier to read for these old eyes, but if you can read those little lines then the other kind of scale is fine. I think the best digital scale for the money is Digiweigh 600 x 0.1 Gram/g Digital Pocket Scale for home Candle/Soap Making Lab Set
. Once again, you might find a great deal at a garage sale or a thrift store.4)A Stainless Steel Stock Pot It is really important that this pot is staineless steal, aluminum will not workout. The pot also needs to be large enough to hold your water and oils combined. I have used many different pots for making soap. Most of the time I use my big stock pot from my kitchen, it works, and yes you can still use it for food. Just wash your pot really well before using it for food again. You can look for old pots at garage sales, just make sure they are not aluminum.
5)A Mold: When you are done making your soap you will need a mold to put it in. I have used everything from Pringles cans and pvc, to shoeboxes. I have also used candy molds, individual soap molds made out of plastic, and wooden loaf soap molds. I use a large wooden soap mold now, but to start out you might want something less expensive. I have found that the new silicon bakeware works pretty well. This one Smartware Silicone Loaf Pan Includes Storage Lid, Terracotta
is pretty good, and even comes with a cover.Except for a few items that you should already have around your kitchen, and of course the lye and oils, these five items are all you need to start you soap making adventure. I hope you enjoy it s much as I do. Happy Soaping.
Wednesday, February 1, 2012
Birthdays, Holidays, Soap, Sick Kids, and Homeschooling
I just realized I have not posted to this blog in a very long time. It seems that I lost track of time. I don't know how I could have manged that. I spent most of the weeks leading up to Christmas desperately trying to fill orders, plan birthday parties, buy presents, cook food, prepare for a week long trip to visit my family on the other side of the state, and take care of whole bunch of sick kids. Murphy's Law is always lurking in our house. I survived December, but succumbed to illness myself while visiting my family (sorry for the unintended present). We finally drug our exhausted, sick, and fed up with the holidays selves through our door, and collapsed. We only got to collapse for about 10 hours, then the kids had to be at school. Back into the swing of things, full tilt. Homeschool, school, work, clean, cook, and repeat. Needless to say the two little ones are both sick again. I did manage to make some soap and will post pictures soon. Someday I will have time to make more, I think.
Saturday, October 23, 2010
Why should I make my own handmade soap?
There are so many reasons for making your own soap. Making your own soap is a fun and rewarding experience. It is an experience that also allows you to control the quality of the ingredients you put on your skin.
Commercially produced soaps, the ones you buy in the grocery or drug store, are for the most part detergents and not really soap. Detergents strip all of the good oils from your skin, and leave a film that makes your skin feel dry. These soaps are also full of chemical preservatives, such as parabens, that are dangerous to your health. These soaps are often made with the cheapest of fats, and have all of there natural glycerine removed. Glycerine is an important humectant, and without it soap is drying. Commercial soap makers try to make up for this drying effect by adding cheap petroleum based moisturizers to the soaps. These petroleum based moisturizers can be dangerous. Commercial soaps are also highly fragranced with fragrance oils that often contain pthalates, which are a type of plastic that is known to cause hormone disruption.
When you make your own soaps the old fashioned way it is possible to add only the best moisturizing oils and butters. These soaps retain all of the natural glycerine and cleanse and moisturize your skin naturally without dangerous chemicals.
Making your own soap is easy. The simplest soap can be made with olive oil from the grocery store and lye from the hardware store. Easy Soap Making Directions
Watching your own specifically designed combination of oils and herbs turn into a luxurious bar of soap is an amazing sight. It allows you to be creative and create soaps that meet your skins needs. Making handmade soap is fun and addictive. If you start making your own soap you will never go back to store bought again.
Commercially produced soaps, the ones you buy in the grocery or drug store, are for the most part detergents and not really soap. Detergents strip all of the good oils from your skin, and leave a film that makes your skin feel dry. These soaps are also full of chemical preservatives, such as parabens, that are dangerous to your health. These soaps are often made with the cheapest of fats, and have all of there natural glycerine removed. Glycerine is an important humectant, and without it soap is drying. Commercial soap makers try to make up for this drying effect by adding cheap petroleum based moisturizers to the soaps. These petroleum based moisturizers can be dangerous. Commercial soaps are also highly fragranced with fragrance oils that often contain pthalates, which are a type of plastic that is known to cause hormone disruption.
When you make your own soaps the old fashioned way it is possible to add only the best moisturizing oils and butters. These soaps retain all of the natural glycerine and cleanse and moisturize your skin naturally without dangerous chemicals.
Making your own soap is easy. The simplest soap can be made with olive oil from the grocery store and lye from the hardware store. Easy Soap Making Directions
Watching your own specifically designed combination of oils and herbs turn into a luxurious bar of soap is an amazing sight. It allows you to be creative and create soaps that meet your skins needs. Making handmade soap is fun and addictive. If you start making your own soap you will never go back to store bought again.
Wednesday, October 13, 2010
$2.00 Soap Sale
Only 2 more days to get your $2 soaps. All of our soaps are on sale for $2. Don't forget Free Shipping on all orders over $15. Stock up now. Our handmade Shea Butter Soaps make great Christmas Gifts too!
www.avalonsoapworks.com
www.avalonsoapworks.artfire.com
www.avalonsoapworks.com
www.avalonsoapworks.artfire.com
Friday, April 23, 2010
How to Make Cold Processed Soap
Making your own homemade soap is not only providing your family with a great natural product, but it is also really addictive. I love making soap. The only thing I love more is teaching other people how to make soap for themselves. So I am going to try and teach you how to make a very basic soap. It is really simple.
**Always wear disposable gloves to protect your hands, sodium hydroxide is dangerous.
**Keep vinegar around to neutralize the sodium hydroxide (lye)
Step 1
Measure your water and lye accurately.
Step 2 Mix the lye into the water, carefully. This solution will get very hot and will burn you badly if it gets on your skin. Use the vinegar if you spill on yourself..
 Step 3 Measure you solid oils, (coconut oil, shortening, palm oil, shea butter, etc.) and melt in stainless steel pan over low heat. Remove from heat when barely melted.
Step 4 Measure liquid oils, (olive, sweet almond, castor, apricot kernal, etc. ) and mix with melted solid oils.
Step 5 Allow all oils and sodium hydroxide (lye) solution to reach the same (100 degrees) temperature.

 Step 6 Mix the lye solution into the oils. Stir with stainless steel wisk or stick blender until soap reaches trace, (trace is when the soap becomes a pudding like consistency) You will know that it has traced when a drizzle over the surface will set on top of the soap and not sink down inside. Add any additives ( fragrance, herbs, etc.)
Step 7 Pour soap into a prepared mold ( anything will do, I have used pvc, a new kitty litter box, disposable rubbermade containers, soap molds, wooden molds). If you use a plastic type mold make sure you spray it with Pam. If you use wood make sure you line it with waxed paper, a white garbage bag, or butcher paper.

Step 8 Place a cover over the soap and insulate with a warm blanket. If you use wood it usually does not need to be insulated.
 Step 9 You can unmold in 24 hours.
Step 10 Cut into bars and allow to cure for 4-6 weeks.

Step 11 Enjoy great natural soap that you made yourself.
High Grade Sodium Hydroxide Lye Micro Beads, 2 Lbs. (Buy 5 get $15 off)
GARDEN BUG SOAP BARS Animal Soap Mold

LARGE LOAF Miscellaneous Candy Mold Chocolate
**Always wear disposable gloves to protect your hands, sodium hydroxide is dangerous.
**Keep vinegar around to neutralize the sodium hydroxide (lye)
Step 1
Measure your water and lye accurately.
Step 2 Mix the lye into the water, carefully. This solution will get very hot and will burn you badly if it gets on your skin. Use the vinegar if you spill on yourself..

Step 4 Measure liquid oils, (olive, sweet almond, castor, apricot kernal, etc. ) and mix with melted solid oils.
Step 5 Allow all oils and sodium hydroxide (lye) solution to reach the same (100 degrees) temperature.

 Step 6 Mix the lye solution into the oils. Stir with stainless steel wisk or stick blender until soap reaches trace, (trace is when the soap becomes a pudding like consistency) You will know that it has traced when a drizzle over the surface will set on top of the soap and not sink down inside. Add any additives ( fragrance, herbs, etc.)
Step 7 Pour soap into a prepared mold ( anything will do, I have used pvc, a new kitty litter box, disposable rubbermade containers, soap molds, wooden molds). If you use a plastic type mold make sure you spray it with Pam. If you use wood make sure you line it with waxed paper, a white garbage bag, or butcher paper.

Step 8 Place a cover over the soap and insulate with a warm blanket. If you use wood it usually does not need to be insulated.
 Step 9 You can unmold in 24 hours.
Step 10 Cut into bars and allow to cure for 4-6 weeks.

Step 11 Enjoy great natural soap that you made yourself.
High Grade Sodium Hydroxide Lye Micro Beads, 2 Lbs. (Buy 5 get $15 off)
GARDEN BUG SOAP BARS Animal Soap Mold
LARGE LOAF Miscellaneous Candy Mold Chocolate
Wednesday, March 31, 2010
Vanilla Swirl Handmade Soap
I was so inspired by my cucumber soap experience that I decided to try swirling my next batch of vanilla. I used the same recipe as the cucumber melon soap. I replaced the cucumber melon fragrance with vanilla and omitted the cucumber puree. I removed half of the soap at light trace and added the vanilla fragrance (which turns dark brown in cold process soap) to the remaining half of the soap. I poured the fragranced soap in the mold and then drizzled the unfragranced soap over it in a zigzag. Then I just left it alone to set up.


I think it turned out beautiful, and the vanilla is awesome!
Basic Soap Making: All the Skills and Tools You Need to Get Started (Basics)
High Grade Sodium Hydroxide Lye Micro Beads, 2 Lbs.
Soaper's Delight Organic Coconut Oil, 1 Gallon buckets

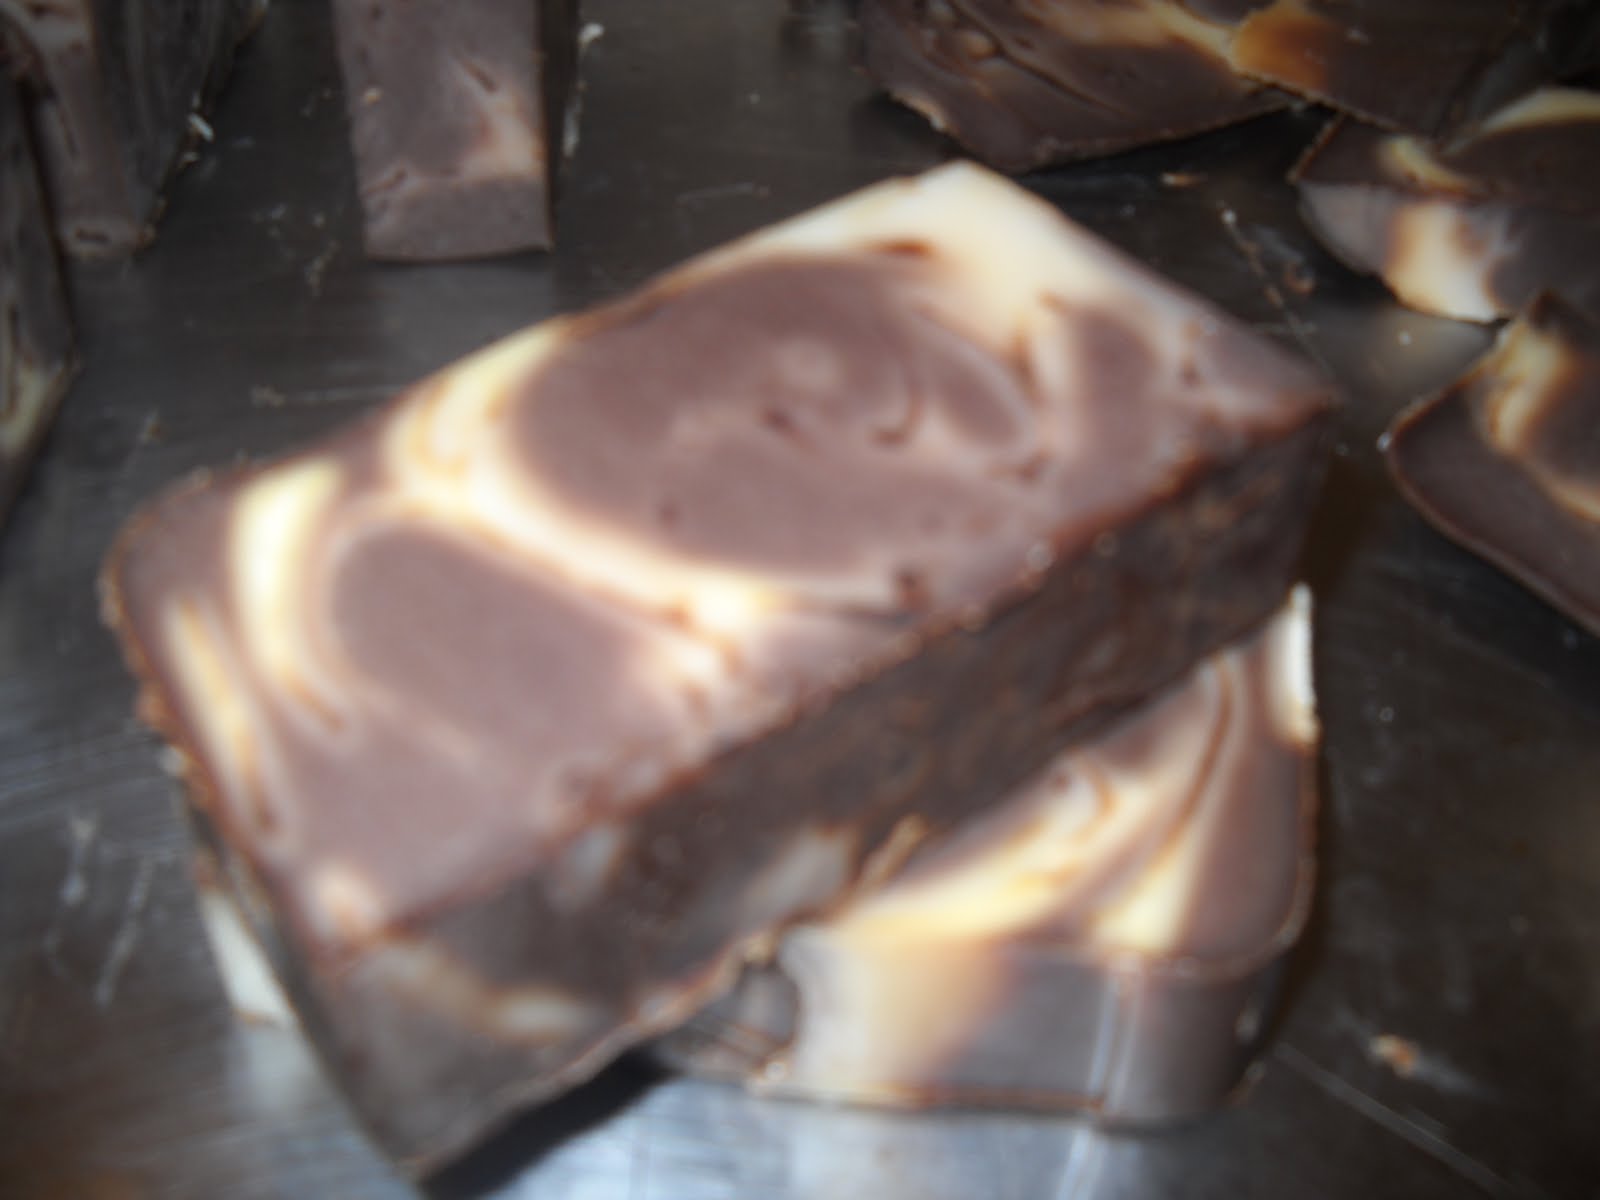
I think it turned out beautiful, and the vanilla is awesome!
Basic Soap Making: All the Skills and Tools You Need to Get Started (Basics)
High Grade Sodium Hydroxide Lye Micro Beads, 2 Lbs.
Soaper's Delight Organic Coconut Oil, 1 Gallon buckets
My Green Cucumber Melon Handmade Soap Turned Out Awesome!
I am very grateful that my green Cucumber Melon Handmade Soap didn't turn out quite as bright as it was when I made it.
After 24 hours I unmolded it. It is a nice pale green, and smells yummy too.
I can't wait for it to get done curing.


Wednesday, March 10, 2010
How to Make Natural Handmade Cucumber Soap Green
When I received my brand new batch of soap making supplies in the mail the other day it felt like Christmas. I have been making natural handmade soap for over 10 years now and their is still nothing like the feeling of tearing into a brand new box of supplies. Every batch of handmade soap is an adventure.
Most of the time I make soaps that are very natural colored, they turn out off white or brown of some sort. I thought maybe I would try to put some color in this batch of handmade soap. I wanted to keep it natural so I decided to make Cucumber Melon soap and add some cucumber puree to make it green.
I made a small batch just to see how it went.
Cucumber Melon Cold Processed Soap
6oz Vegetable Shortening (I use generic, make sure it is soybean and cottonseed oil. If it has palm in it you will need to run it through the soapmaking calculator again)
6oz Coconut Oil
4oz Shea Butter
5oz Palm Oil
2oz Castor Oil
1oz Sweet Almond Oil
8oz Cucumber puree and water
3.4 oz lye
Use basic soapmaking procedure.
I cut up the cucumber and blended it in my blender until it was liquified, then added enough water to make 8 oz. I could not believe how green the puree was. I was expecting it to be pale green, but it was very bright.

When I added the lye to the cucumber puree it didnt change color at all. It stayed bright green, and smelled horrible. Thankfully the odor didn't last long.
After melting the oils and getting them to the proper temperature ( I like to mix around 100 degrees), I mixed the lye and cucumber mixture into my oils.

Unfortunately, my trusty stick blender failed me.. I havn't stirred soap in like 9 years, but wasnt so bad, the soap traced in like 5 minutes.
To my suprise the soap remained a very bright green.

I added 1 once of Cucumber Melon fragrance oil and poured it all into a mold.

I cant wait to unmold it tomorrow and see if that bright green color has remained.
Making handmade soap is so much fun!
I wonder what other things I have in my kitchen that I can use to color soap. Maybe baby food would work, strained carrots?
Any ideas?
Most of the time I make soaps that are very natural colored, they turn out off white or brown of some sort. I thought maybe I would try to put some color in this batch of handmade soap. I wanted to keep it natural so I decided to make Cucumber Melon soap and add some cucumber puree to make it green.
I made a small batch just to see how it went.
Cucumber Melon Cold Processed Soap
6oz Vegetable Shortening (I use generic, make sure it is soybean and cottonseed oil. If it has palm in it you will need to run it through the soapmaking calculator again)
6oz Coconut Oil
4oz Shea Butter
5oz Palm Oil
2oz Castor Oil
1oz Sweet Almond Oil
8oz Cucumber puree and water
3.4 oz lye
Use basic soapmaking procedure.
I cut up the cucumber and blended it in my blender until it was liquified, then added enough water to make 8 oz. I could not believe how green the puree was. I was expecting it to be pale green, but it was very bright.

When I added the lye to the cucumber puree it didnt change color at all. It stayed bright green, and smelled horrible. Thankfully the odor didn't last long.
After melting the oils and getting them to the proper temperature ( I like to mix around 100 degrees), I mixed the lye and cucumber mixture into my oils.

Unfortunately, my trusty stick blender failed me.. I havn't stirred soap in like 9 years, but wasnt so bad, the soap traced in like 5 minutes.
To my suprise the soap remained a very bright green.

I added 1 once of Cucumber Melon fragrance oil and poured it all into a mold.

I cant wait to unmold it tomorrow and see if that bright green color has remained.
Making handmade soap is so much fun!
I wonder what other things I have in my kitchen that I can use to color soap. Maybe baby food would work, strained carrots?
Any ideas?
Tuesday, May 5, 2009
Soapmaking 101-The Different Types of Handmade Soaps
The 4 basic types of soap that you can make at home:
Melt & Pour
Re-batched or Milled Soap
Cold Process
Hot Process
Melt & Pour
This type of soap is ussually bought pre-made into large blocks. It is often clear and made out of glycerine, though it can contain many other things as well.
This is ussually considered the easiest form of soapmaking because you simply melt the block down , add any scents, colors , or herbs that you choose and pour into a mold. When it is hard it can be unmolded and is ready to use. The ease of use with melt and pout allows you to make rather intricate and beautiful works of art out of your soap.
Re-Batching or Milled Soap
This is ussually a cold processed soap that is made into "noodles", melted, and remolded. This method is slightly difficult, but produces a harder bar of soap as well as a truer scent and color in the final product.
Cold-Processed
This is by far my favorite type of soapmaking. It is how I started and it just seems so simple and elegant to me.
In order to make soap with this method you must measure and mix accurately . The mixture of oils and the mixture of lye and water need to be mixed at the right temperature. At this point saponification starts to occur and the soap and oil mixture will "trace" or become pudding like. It is then molded and insulated and saponification continues to occur. In 24 hours you can ussually unmold and soon after cut into bars. This product then needs to cure for4- 6 weeks or so to complete the saponification process, become hard and no longer have any lye in the bars of soap.
Hot processed
Hot processed soap is made similarly to cold processed soap, except that it is actually cooked during the saponification process. This reduces or eliminated the need for the product to cure after mixing, however, it also seems a bit more dangerous to me. With so many little ones around my house, its really not something I want to try. If you do choose to try it Ive heard that you can use the oven to do this rather successfully.
Dont Forget to check out all of our soapmaking ingredients at www.avalonsoapworks.com
and check back here often for recipes, tips, and instructions on how to make great handmade items yourself!!
Melt & Pour
Re-batched or Milled Soap
Cold Process
Hot Process
Melt & Pour
This type of soap is ussually bought pre-made into large blocks. It is often clear and made out of glycerine, though it can contain many other things as well.
This is ussually considered the easiest form of soapmaking because you simply melt the block down , add any scents, colors , or herbs that you choose and pour into a mold. When it is hard it can be unmolded and is ready to use. The ease of use with melt and pout allows you to make rather intricate and beautiful works of art out of your soap.
Re-Batching or Milled Soap
This is ussually a cold processed soap that is made into "noodles", melted, and remolded. This method is slightly difficult, but produces a harder bar of soap as well as a truer scent and color in the final product.
Cold-Processed
This is by far my favorite type of soapmaking. It is how I started and it just seems so simple and elegant to me.
In order to make soap with this method you must measure and mix accurately . The mixture of oils and the mixture of lye and water need to be mixed at the right temperature. At this point saponification starts to occur and the soap and oil mixture will "trace" or become pudding like. It is then molded and insulated and saponification continues to occur. In 24 hours you can ussually unmold and soon after cut into bars. This product then needs to cure for4- 6 weeks or so to complete the saponification process, become hard and no longer have any lye in the bars of soap.
Hot processed
Hot processed soap is made similarly to cold processed soap, except that it is actually cooked during the saponification process. This reduces or eliminated the need for the product to cure after mixing, however, it also seems a bit more dangerous to me. With so many little ones around my house, its really not something I want to try. If you do choose to try it Ive heard that you can use the oven to do this rather successfully.
Dont Forget to check out all of our soapmaking ingredients at www.avalonsoapworks.com
and check back here often for recipes, tips, and instructions on how to make great handmade items yourself!!
Subscribe to:
Posts (Atom)